So you want to know about Robin?

My photo
Hi All! A little about myself, I'm a 27 year old living in Jersey with my hubby and our 75 lb fur-child, Gunner. I recently landed my dream job as a Speech Language Pathologist in a huge acute-care hospital in our area and I couldn't be happier! In addition to my "day-job", I moonlight as a crazed crafter, lol. I have been a lover of anything "crafty" for as long as I can remember but didn't have time to actually ENJOY the crafts I was making until I finished up with my masters degree. Now, I'm done and have some more time available to create things that I love. Hope you enjoy!

Sunday, December 26, 2010

Corn Pillows

Hi all!  As promised, here are some of the posts that I couldn't reveal before Christmas :)  Last year, my friend Kaitlyn gave me a "corn pillow" for Christmas... now while my orignial has since been eaten by the lovely Gunner-man, I have made more than one in it's place.

What's that you say?  What the heck is a corn pillow?  Well, a corn pillow is simply the best :)  It's  pretty much exactly what it sounds like... a pillow filled with corn (corn feed: the whole kernel kind).  It's amazing because you pop it in the microwave for 3 minutes and it gets nice and hot... and it holds the heat for a long time!  So it's perfect for snowy-days, for your cold ride to work in the morning or to throw under the covers at the foot of your bed (I'll stop now because I know I'm sounding very infomercial-like :) ), but for real, it's that awesome!

So for any of you who want to make a very inexpensive (a 50 lb bag of corn feed costs no more than $10 and a yard of fabric is about $4) but very functional and amazing gift for someone, here's a little "how-to"

First step would be to go to a fabric store and buy flannel-type fabric.  I use fabric called something like "snuggle flannel".

Measure big squares.... around 10 x 24 inches.


 This is roughly the size you want once the fabric is folded in half.
Then fold it together so the patterned side of the fabric is on the inside.
 Sew around 3 and 3/4 sides of the fabric
 Pull the pillow right-side out... you should have about 2-3 inches open still.
 Then get your corn ready.  The easiest way to fill the pillow is get a wide mouthed funnel.  If you don't have that, the next best thing is to cut the top of a 2-liter bottle of soda.  You can use that as a funnel.
 Fill the pillow so it's about half-way full.  If you fill it up any more than that, it won't hold the heat as well.
 Then pick a "fancy" stitch and sew up that 2-3 inch opening.
and here is your finished corn-pillow!

Make up a cute little tag that says to microwave for 3 minutes and you're done.  Also, for anyone who lives in a hot area, these pillows can also be put in the freezer and they stay nice and cold for a long time too!


Oh.... important side-note:  The first few times you microwave these corn pillows, they will feel damp.  That's just the corn releasing some remaining moisture.  That feeling will go away after a few trips to the microwave :)

Enjoy!

Friday, December 24, 2010

Slacker

I know, I know, I've totally been off my game.  Go ahead, call me a slacker, lol.  I PROMISE I have goodies coming!  Let's just say that I can't reveal a few things until after... let's say December 25th :)

Until then, Have a very Merry Christmas!!

<3 Robin

Monday, November 29, 2010

Knot Dress

Ok all... the good news is that I successfully constructed a knot dress! The bad news is that there needs to be definite changes for the next one that I make.  And I apologize, because I was so caught up in actually making the dress, I sporadically took pictures.  So here's what I have.

This is the color palette I originally chose... the brown ended up getting axed.  {I also apologize for the color in the pictures... everything looks brighter than it really does in person}


 I cut 2 pieces of fabric 5x9 inches. This is going to be the front and back of the bodice.  Then I measured in and down 2 inches.  This allows for the armholes.
 Then I got fancy (lol) and added some turquoise trim so I wouldn't have to figure out how to hem a curved line.... (shhhh don't tell anyone that I'm lazy!)

From here, I put the two pieces of fabric together (right side facing eachother) and sewed one side together.


 Then, I tempted fate and tried to make pleats... Thankfully it worked!  I made them by leaving a 2 inch gap, then I picked up the fabric right above the 17 and folded it over to the 15.
 Then it looks like this :)  (please ignore the switch in #s, like I said, I was really bad about taking pictures this time!)
Ok, again with the switch-a-roo with pictures.  So here is where I attached the top to the bottom.  I placed the right side of the fabrics together and sewed one big straight line.


Then I went to sleep and finished the rest today and totally forgot to take ANY pictures until it was done.  In between, I added straps and a hem and buttonholes!  Here it is!!


The dress could be worn either way, with the knots in the front or the back :)


So it should be interesting when I give this to Chris' cousin... I have no idea if it's going to fit her (this is supposed to be a 6 month size) or if it will even make it through the washer... I'm going to give that a test run tonight.  

Things I learned:
 - this may need a zipper
 - I love making dresses
 - I need to take my time and pay attention to where seams are going to show up.

Hope you enjoyed!

Saturday, November 27, 2010

You can never have too much glitter {at least I don't think you can!}

Ok, as I said last night, I needed to trade in my glittered pumpkins for something a little more winter-ish.  I got an amazing silver tray at HomeGoods last night, and I set off today DETERMINED to find faux fruit (specifically apples and pears) and silvery/green glitter.  Off to Target I went.  Unfortunately, they DID NOT have faux fruit!!  I was appalled... Target has everything... or so I thought.  But I did happen to find some amazing sparkly candles.  More on them later.  So I consulted my trusty ole Joann Fabrics.  Alas, she came through!  I found my fake fruit and some nice ribbon.

In case you ever want to glitter something on your own, here are step by step instructions :)  {I apologize ahead of time, there are LOTS of pictures!}

Here are the naked faux fruit from Joann's


Ok, you need to have some Tacky Glue.  Pour some (about 4 tbsp) in a bowl you don't care about and add some water (about 3 tsp).  Mix it all up until is looks like......


 this!


Then start painting whatever you're glittering.  This part sucks, but it pays off to take your time and make sure you get everything.
 You're going to do each piece one at a time. I recommend using one paper plate per glittery item, so you can dump all the extra glitter back into the right container and you don't have one big mess of colors.
I keep each glitter container with the correct item so I don't mix them up :)
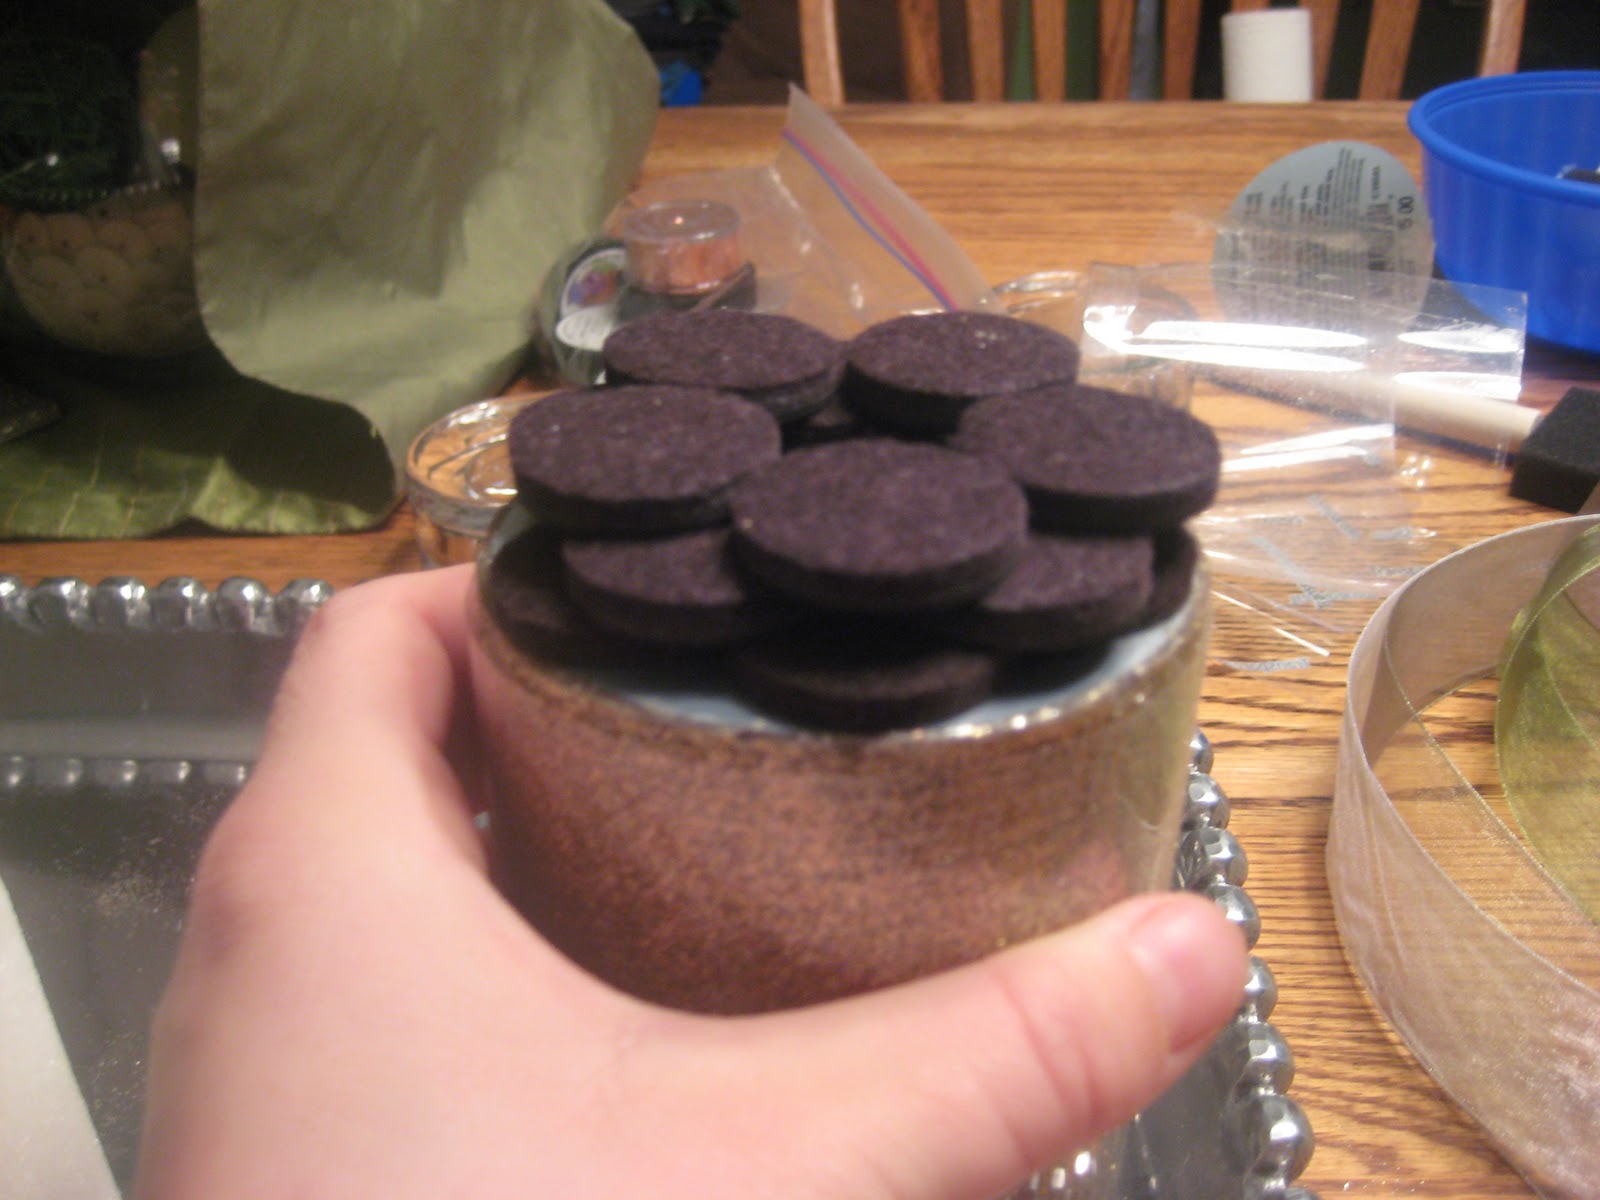
*This is a side note*  I wanted my three candles to be staggered in size, but two were the same height, so I stuck, oh about a million, small furniture pucks to build up its height.
See!  Now they are all perfect :)
 Because I used furniture pucks to build up the one candle, I covered the bases of all the candles with some ribbon.  This covered my sneaky build-up trick and made them look pretty :)
 Now you see them... soon you won't ;)
 Some random bendy, stick things that I used to keep the fruit in the positions that I wanted them.
 It's coming along!

Voila!  My new festive, sparkly centerpiece!  I <3 it!
Oh, and don't forget to let your glittery items dry for about 2 hrs to be on the safe side.


Hope you Enjoy!!

Friday, November 26, 2010

Glitter

Being that today is Black Friday, I couldn't just sit home and buy nothing!  So I went to Home Goods to browse their holiday section.  I finally found this amazing silver/tin serving tray thing and I know EXACTLY what I'm going to do with!  

Remember this lovely post about glittered pumpkins??  Well I'm hoping to make some amazing glittered fruit that can serve as my decorations throughout all of winter.... I'm thinking silver glittered pears and some bright green glittered apples.  

So off I go to Target and JoAnn's tomorrow in search of some fruit...wish me luck!!

Sunday, November 21, 2010

More Baby Blankets!

So this baby blanket was the last thing that my fabulous sewing machine produced before it died.  :(  All was running smoothly, and then poof.  dunzo.  kuput.  hasta la vista.  My mom gave me the sewing machine for Christmas a few years ago when she thought I would only use if for hemming pants... little did she know, I was a crafty woman in the making :)  But I digress...

This baby blanket was for my good friend Berna's soon-to-be nephew!  She approached me awhile back and asked if I would make one and I happily agreed.  Little did I know, that I would be eaten alive (if a good way!) by my new job and it would take me WAY longer than I thought it would to make the wee-little one's gift.

But now that I've adjusted to the new job, the craftiness is back in full swing :)

When Berna first asked me, she showed me the nursery and I snuck this oh-so-fabulous camera phone picture for some inspiration regarding fabric patterns and colors.


Then off we went to Joann's Fabrics to pick out the final threads.  We came up with this...

Once that was finalized, I got to work.  All went smoothly with the exception of my sewing machine biting the dust when I was like 9/10ths of the way done.  Thankfully, my mom is an understanding woman and let me take over her dining room and use her sewing machine.

Ta-Da!!


Congrats!!!! <3

Monday, November 1, 2010

Baby D!


So my cousin Matt and his wife Jenn are expecting their first baby (boy) next week and I finished his blanket JUST in time :)  I was so excited when I first heard they were pregnant and I immediately want to make a blanket.  Their nursery is jungle/sports themed, so I went to the fabric store, pulled some animal fabrics that I thought might work and took a picture to put with her gift.  


So I'm at the shower and Jenn starts opening gifts.... blanket...clothes....blanket!....toys....diapers....blanket!?....blanket!?!?!?!.... you get the picture, she got something crazy like 6 blankets!  and I thought, well there goes my idea!  BUT alas, my cousins are fabulous (and know I make one bad ass blanket) and STILL wanted a Robin original :)  So Jenn and I made a trip to Joann's and picked out the final choice for the fabric.   This is what we ended up with...


and then THIS is the final product...


and finally, the amazing parents-to-be :)  <3 you!